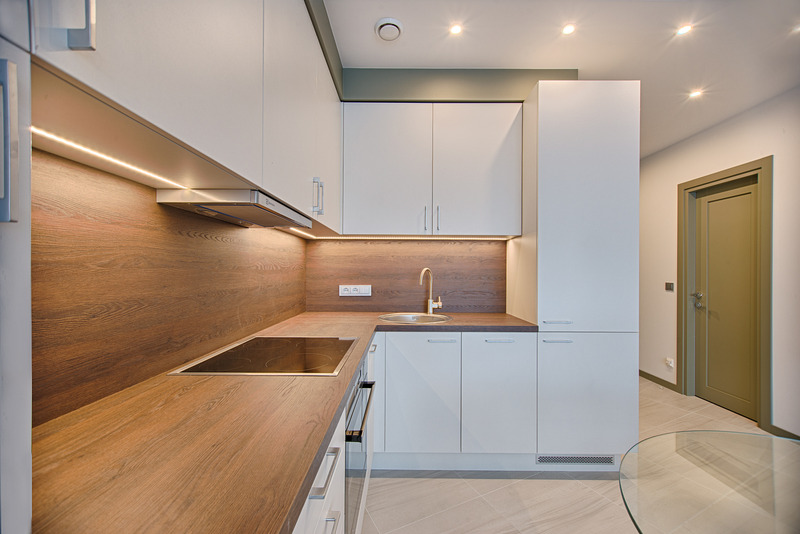
A worktop is a must-have in any modern kitchen. Tearing out an old worktop allows you to make your kitchen more appealing. Anyone can get any type of worktop materials that range from solid wood to laminated chipboards.
Removing and replacing old worktop surfaces is relatively straight forward and can be done with a handfull of basic carpentry tools, little bit of care and and some patience. However, if you’re looking for an easier way, then you may want to consider calling a kitting fitting Swansea specialists like us.
Below we’ve provided you with 9 steps to follow if you’re thinking of doing it yourself
1 – Take measurements of the worktop
Before purchasing new worktops, measure the size the worktop will be to have an accurate idea of how much you may need.
2 – Trace the measurements on the slab
Trace the dimensions of the worktop you measured onto the worktop slabs place masking tape over the measurements for easier cutting, though you can also buy the materials for your worktops pre-cut.
3 – Begin cutting the shape of the worktop
With the measurements in place and are scribed and taped over with masking tape for easier cutting, it’s time to begin cutting your worktop. A jigsaw is the most suitable tool for this job.
4 – Finishing touches on cutting
After cutting, rub down with fine sandpaper to remove any odd, rough edges, do not same the visible surfaces of the worktop.
5 – Fitting and placing the worktop
With the final product of the worktop, lift the cut worktop into position on top of the base units where you intend to fit it, push it into position and see if its back is firmly in place against the rear wall. Use G-clamps to hold the worktop firmly in place to the unit below.
6 – Drill pilot holes
This is needed to place pilot holes from the base units into the worktop, an electric drill is needed. Pilot holes need to be short to make attaching the worktops to the units easier and faster, and after drilling, screw them together.
7 – Connect the base unit and worktop
Connect the worktop properly at the front and back of the base units, to ensure a snug fit and it will not move. Repeat the process for additional worktops that you want to install.
8 – For adjoining pieces
When cutting you will need to attach a joining strip to the edge, giving it a cleaner and flush edge. Measure the length of the strip and cut it using a hacksaw then attach the joining strip to the edge of your worktop using screws and slide it into place, and when it is done, attach it to the base units.
9 – Finishing touches
If exposed cut edges on the surface are present, glue a finishing strip to the edge, these are supplied in lengths and need to be cut down. Again rub down al rough edges with a fine sandpaper
Conclusion
Fitting your own kitchen worktop shouldn’t be dfifficult if you plan and prepare properly, use the correct tools and follow the above instruction with care. However if you’ve decided that this is perhaps a job too far for you then please don’t hesitate to give us a call and our specialist kitchen fitters Swansea team will be happy to be of assistance.


